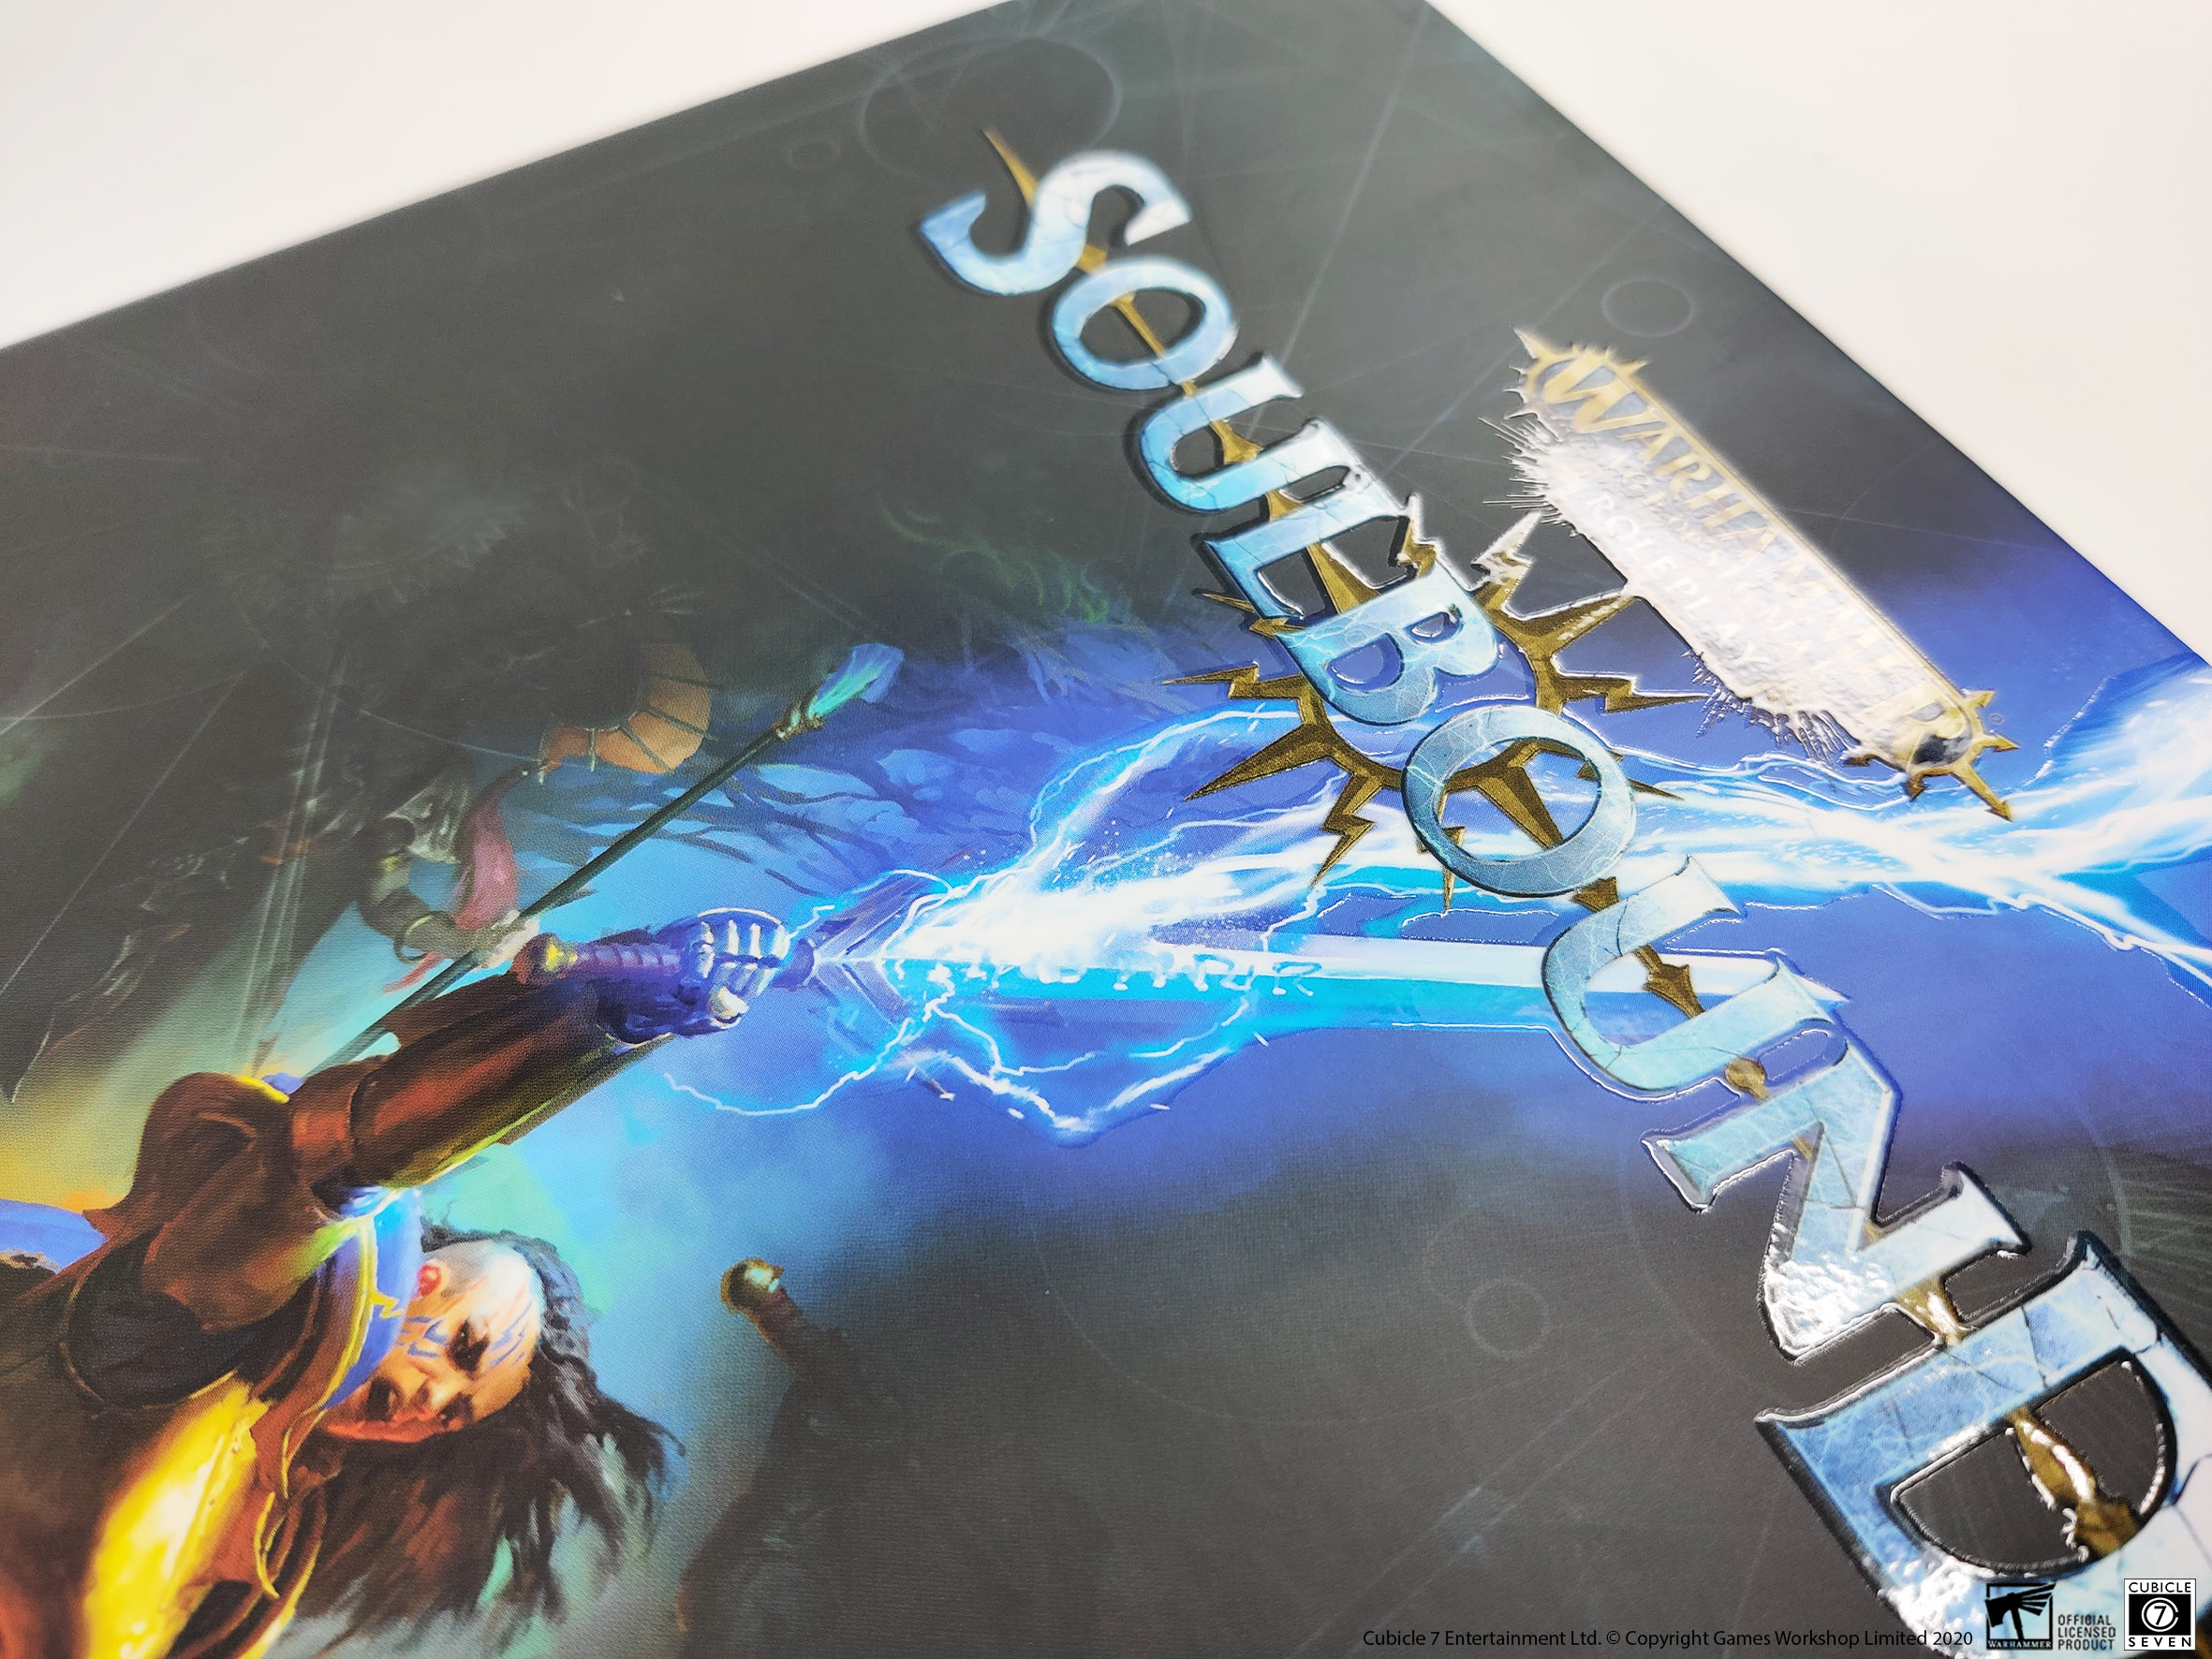
AoS: Soulbound - Encounter Design Part 1

#MortalRealmsMonday
Encounter Design Experiments
Greetings once more, mortals and monsters! I’m Elaine, one of the staff writers at Cubicle 7. I am here today to talk to you all once more about the dark arts of crafting encounters for Warhammer Age of Sigmar: Soulbound.
In my previous article, I painted some broad strokes about the themes and tone of Soulbound adventures and how you can make them feel uniquely Soulbound.
But with this article I wanted to give you all a special treat, or three treats to be more precise! Below are two separate combat encounters made specifically to show some of the versatility of the Warhammer Age of Sigmar: Soulbound system. Next week we'll have the third (and biggest!) encounter, so be sure to check back.

We have also crammed these adventures with design notes and tips that really dive into the nitty-gritty details of how encounters are designed. This should give all you GMs out there a Gargant-sized helping of tips and tricks to help you design your own.
So grab your best smithing tools and let’s dive right in.
Blood in the Glass Canyon
(Design Note: Blood in the Glass Canyon was designed as a short-but-fun ambush encounter that can be thrown into almost any journey through the metallic wastelands of Chamon. It also doubles as a nice beginner encounter, as it teaches players about different kinds of hazardous terrain and enemy synergy.)
Read aloud to the players:
‘As the cart rumbles and crunches across the sharp blades of metallic grass, an ethereal shriek echoes off the canyon walls. Before your eyes, ghostly apparitions claw their way through the chromatic ground. With a crash, one of the wheels on the cart shatters under the blow of a rising spectre. The cart lurches to a halt and tips sideways. The dead have risen, and they seek blood.’
The ambush takes place in a narrow canyon overgrown with waist-high blades of razor sharp metallic grass, swaying in an unnatural breeze.
The grass covers the canyon floor in all Zones, and is a Major Hazard (Soulbound, page 138). There are three raised pillars of flattened metal which can offer a small respite and clear area to fight. One to the north, south, and southwest. Each raised pillar is its own small Zone that requires a DN 4:1 Body (Athletics) Test to climb onto. Flying characters, of course, can just fly right onto them.
(Design Note: Unless stated otherwise, Environmental Hazards do not ignore Armour! That means a character with heavy armour can walk through a Major Hazard like it’s nothing! This creates a very cool moment for them to shine. Always try to offer up opportunities to make your players feel like the heroes of the story.)
At the beginning of combat, any characters that are on the cart must make a DN 4:1 Body (Reflexes) Test or be hurled from the cart and into the grass. In addition, half of the cargo in the cart scatters across the grass, potentially damaging any fragile goods.
(Design Note: By damaging the cart and endangering civilians or cargo, we are forcing the party to stand their ground against the spirits, giving them a clear goal to rally around.)
There is one Chainrasp Dreadwarden (Soulbound, page 330) for every two members of the party. In addition, there are two Chainrasps for every member of the party (Soulbound, page 330).
(Design Note: Most of the time when designing encounters we build in scaling based on the number of members in the party, but this isn’t a fool-proof method of ensuring a challenging fight! Soulbound Producer Emmet Byrne made a great video about calculating enemy difficulty for your specific party, which you can find here.)

The Dreadwardens keep their distance — taunting the party with ethereal whispers — as the Chainrasps rush forward under the protection of the Dreadwarden’s Forlorn Light Trait.
The undead do not stop attacking until they have all been defeated, or have murdered all the living.
(Design Note: Try to figure out at least one interesting tactic or ability synergy that the enemies can use prior to running the encounter. This makes your encounters feel much more dynamic and offers important player choices during combat, as they try to figure out how to counter the enemy strategy.)
Once the undead have been defeated, the cart must be repaired with a DN 4:8 Mind (Crafting) Extended Test before it can be used again. One Test can be made each hour until the cart is repaired. If more than three hours pass and the cart has not been repaired, the party is attacked once more by two Chainrasps for every member of the party (Soulbound, page 330).
(Summary Now that we have the basics down, let’s move onto something more… deadly!)
Frost in the Deep
(Design Note: Frost in the Deep was designed to provide an example of how to take a creature from the bestiary and tweak it to create a unique and atmospheric monster hunt. In this adventure, we are descending into a Duardin crypt to eliminate a risen Magmadroth. Once the noble mount of a Duardin warrior laid to rest with its master, the Necroquake has twisted the beast into something far more dangerous…)
Read aloud to the players:
‘As you descend into the depths of the Duardin crypt, your ears can’t help but pick up a low shuffling and muffled footfall of something gargantuan in the darkness. The Magmadroth once known as Clepsyrian’s Bane stalks these halls. Once the noble mount for a Duardin Fyreslayer, it fell during a battle long ago and was laid to rest in the crypts alongside heroes of the Duardin. But with the Necroquake, the beast has risen again, twisted and wrong. Where once an unquenchable furnace burned at the heart of the beast, now only a vacuum of deathly chill exists, ready to freeze any who try to lay it to rest. Ice coats every surface and your breath freezes in the air, as an icy gaze watches your descent.’
Unless lit by magical means, the crypts count as Lightly Obscured (Soulbound, page 138–9) as mundane lights flicker and die in the unnatural cold. Dozens of frozen Duardin warriors litter the tight space, upright with weapons drawn — their dead faces forever locked in frozen screams.
These Duardin are the remains of an earlier attempt at removing the monster from the crypts. A DN 4:1 Mind (Medicine) Test confirms that the Duardin were frozen instantly by a single, powerful blast of ice.
A grand statue of a Duardin hero stands in the centre of the crypt, its stone encrusted in ice and defaced by the gouges of massive claws. At the foot of this statue lies a colossal stone sarcophagus, shattered from the inside.
(Design Note: Environmental storytelling is an incredibly powerful tool in building atmosphere, especially when dealing with monsters who can’t verbally communicate their history to the players. We can infer from the above, that the creature burst from the sarcophagus, defaced the statue, and has been fending off attempts to eliminate it so far, but it’s most effective if the players can come to that realisation themselves.)
The Undead Magmadroth stalks the shadows in the crypt, staying away from any magical light sources and only fighting if attacked. Once a character enters the same Zone as the statue or the sarcophagus, the Undead Magmadroth charges from the darkness and attacks in a cunning manner. It attempts to make various Called Shot Actions (Soulbound, page 142), to disarm, stun, or knock prone its attackers, and often uses one point of mettle each turn to take the Dodge Action.
(Design Note: Remember that enemies can use special Actions in combat too! Nothing makes a beast feel more cunning than when it disarms a character, dodges attacks, or uses the environment to their advantage. Champions and Chosen are great for adding character since they can use Mettle to grant them extra Actions each turn, while still putting the hurt on the player characters.)

The Undead Magmadroth uses the stat-block for a Magmadroth (Soulbound, page 310) with the following alterations.
Replace it’s Roaring Fyrestream with:
Grave Chill Torrent: The creature lets out a roar like cracking ice and unleashes a blast of flash freezing air that sucks the heat from your very bones. As an action, the Undead Magmadroth can choose a Zone within Medium range. Each target in that Zone must take a DN 4:3 Body (Reflexes) Test. On a failure, the target takes 4 Damage and are Restrained until the end of their next turn.
In addition, replace it’s Volcanic Blood with:
Deathly Aura: The undead beast saps the heat from all around it. Any Zone that the beast is in gains the Minor Hazard Trait. The Damage from this Hazard ignores Armour.
(Design Note: You can see that with just a few tweaks to an enemy stat-block you can achieve a vastly different foe! Deathly Aura is very similar to the Chainrasp Chill of the Grave Trait. Don’t be afraid to borrow, reskin, or add new abilities to notable enemies.)
Finally, add the Defensive Rime Trait:
Defensive Rime: If the Magmadroth loses 8 Toughness or more in one round, it immediately uses a Free Action to let out a bellowing roar as a ring of razor sharp icicles explodes from its body. Any characters in the same Zone as the Magmadroth must make a DN 6:2 Body (Reflexes) Test or take 5 Damage, be knocked into a random adjacent Zone and be Stunned until the end of their next turn. The Difficulty of this Test is reduced by 2 if this Trait is triggered again, as the bellowing roar gives away this attack.
(Design Note: Defensive Rime takes the Magmadroth and makes it a truly scary foe worthy of a monster hunt. You could consider rewarding the party for investigating the Undead Magmadroth before they enter the hunt by lowering the DN of the first check by 2.)
(Summary: Loot pinata bosses — where the boss is just one big damage sponge that the group surrounds and attacks till it dies — can be a bit boring and are often the death of fun monster hunts! Try using mobility, the environment, interesting Actions and specific powerful abilities that trigger on damage or round timers to keep the fight dynamic and evolving. Now on to our final encounter, let’s see if we can go… bigger!)
Elaine Lithgow.
Why not follow us on Twitter and Facebook for all the latest news and updates! And don't forget to come back next Monday for the second part of this article.
Browse all pre-order Warhammer Age of Sigmar: Soulbound titles here. Did you see we that we recently opened pre-orders for the Brightspear Map shown below?

Cubicle 7 Entertainment Ltd. © Copyright Games Workshop Limited 2020

 Twitter
 Facebook
 Youtube